
Start with why — and the right fan for your space
If you want constant, reliable breeze on a busy summer evening, installing the right outdoor patio ceiling fans matters more than picking a cool design. This guide focuses on practical, homeowner-first steps for safely mounting high-CFM smart fans, and for getting them paired to remotes or home assistants without headaches. For many porches and pergolas the sweet spot is a damp-rated model with strong airflow and solid controls — consider examples like Orison’s line of outdoor patio ceiling fans when you need integrated light and dependable performance.
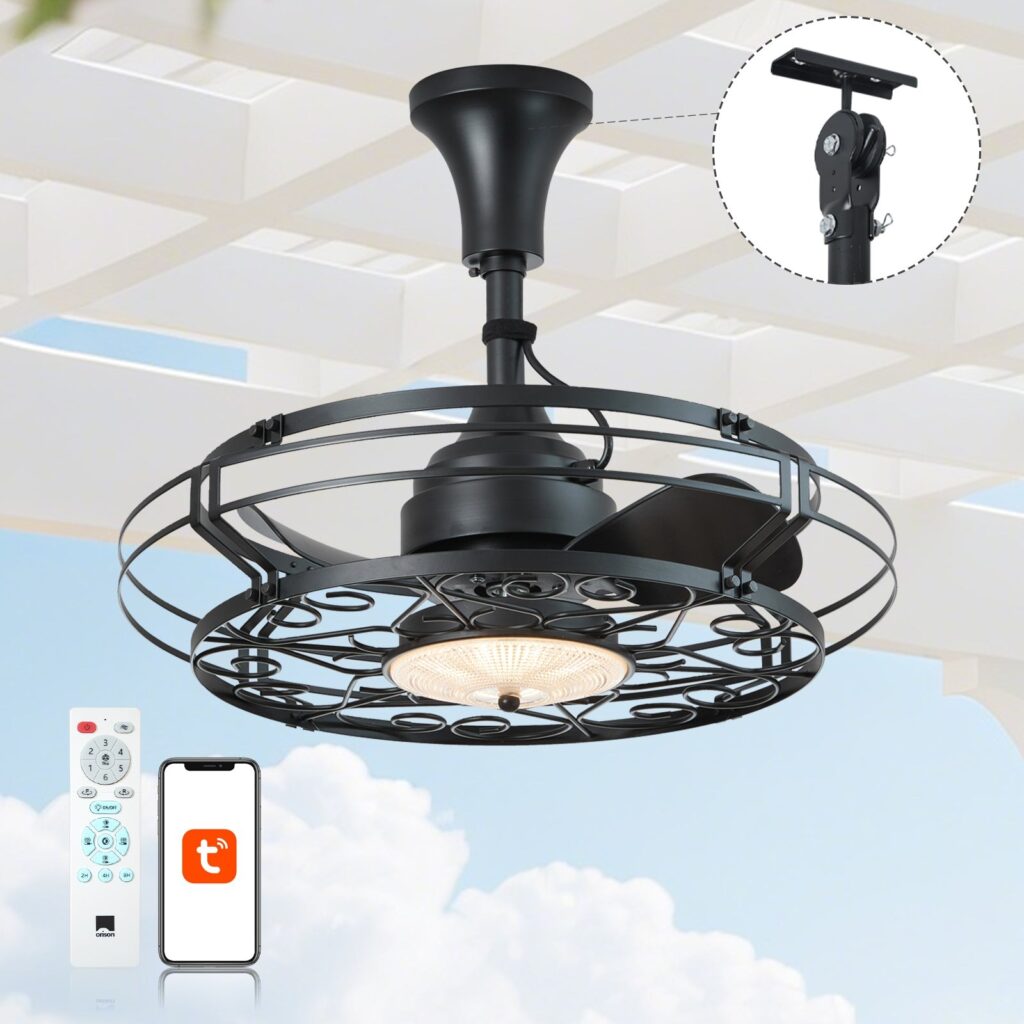
Assess the site: measurements, mounting, and safety checks
Measure ceiling height and span first. High-CFM fans move a lot of air, so you need at least 8–9 feet from blade to floor and 18–24 inches clearance from walls for optimal circulation. Check the electrical box: it must be rated for the fan weight and for outdoor/damp installations. Use a stud-finder and confirm the box is securely anchored to a joist or a fan brace. If the canopy and motor mount look cramped, you’ll need a longer downrod to keep blade pitch and RPM efficient — that preserves airflow and limits motor strain.
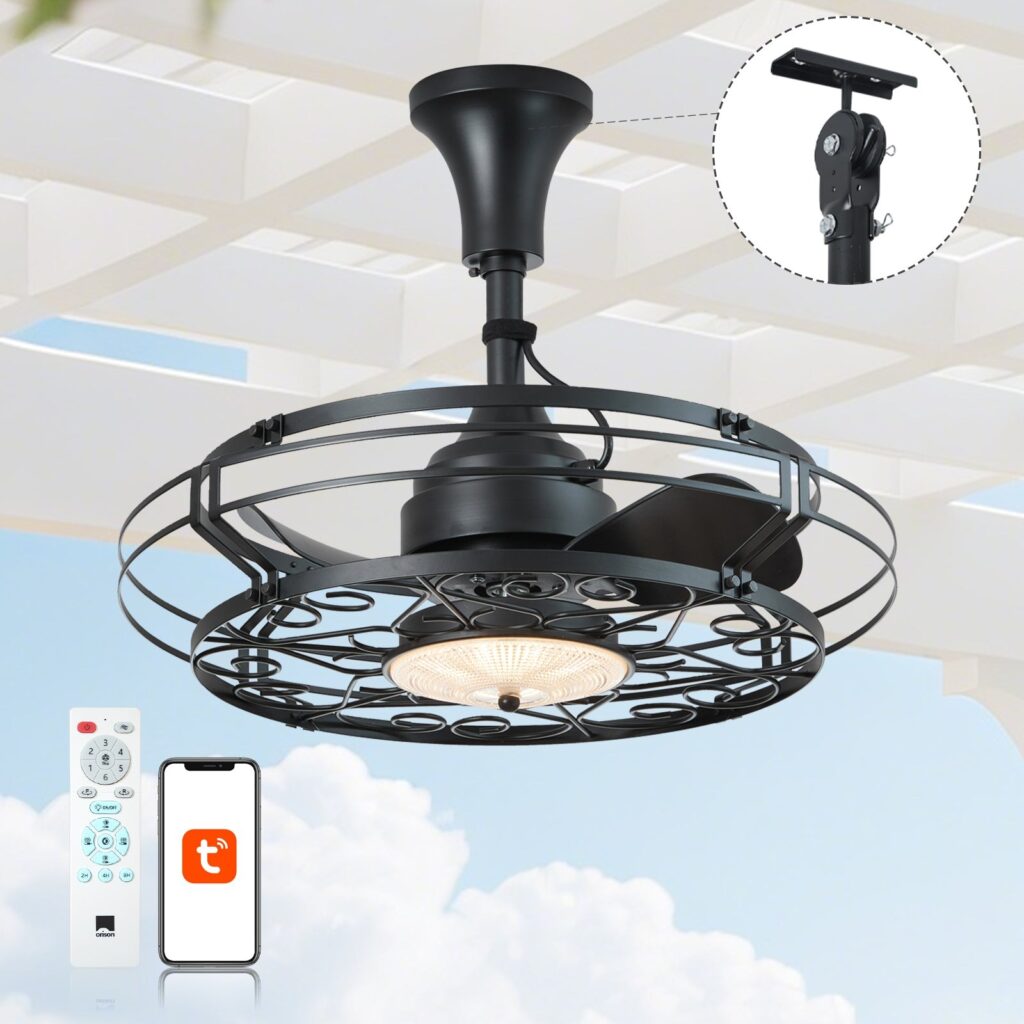
Tools, parts, and a preflight checklist
Gather the essentials: a fan-rated electrical box, insulated connectors, torque-rated screws, a multimeter, and the correct downrod and mounting bracket for your slope or flat ceiling. Verify the fan’s specs: CFM rating, motor horsepower, blade pitch, and whether it’s UL-listed for damp or wet locations. Don’t forget the remote or smart module — if you plan to pair via Wi‑Fi or a hub, check manufacturer pairing instructions before cutting power. A quick preflight prevents turning a simple install into an all-day fix.
Step-by-step safe installation (user-focused)
1) Turn off breaker and confirm with a multimeter. 2) Install the fan-rated box or brace, attach bracket, and route wiring through the motor canopy. 3) Hang the fan on the temporary hook to support weight while connecting wires — match neutrals, live to switch/remote module, and grounding. 4) Secure canopy, fit blades, and test manual spin to confirm no wobble. 5) Install light kit and globe if included; use LED bulbs matching the fixture’s max wattage. Finally, restore power and use the remote or wall control to test speeds and light functions. If wobble appears, re-check blade alignment and balancing kits — small tweaks here avoid noisy operation later.
Pairing smart controls: tips that actually work
Pairing can feel fiddly — but it’s usually predictable. Put the fan into pairing mode per the manual (often toggling power or pressing a hidden button) and use your remote, hub, or app within the specified timeout. For Wi‑Fi or Alexa integration, ensure your home network is 2.4 GHz if required and that the router is within range — signal and latency matter. If pairing fails, power-cycle the fan and reset the remote; you’ll be surprised how often a simple reboot clears glitches. For full-room scenes, label the device in your app so voice commands map cleanly to living areas.
Common mistakes homeowners make — and how to avoid them
Assuming the ceiling box is rated for a fan is the top error — and it’s also a safety risk. Another frequent misstep is skipping blade balancing; high-CFM fans amplify small imbalances into wobble and noise. Don’t assume all remotes and smart modules are interchangeable — incompatible protocols break pairing and sometimes void warranties. Finally, over-tightening screws can warp housings; hand-tighten then torque to spec. — These small habits save time and keep your fan running quietly for years.
When to DIY and when to call a pro
If you’re comfortable with basic electrical work and have a stable mounting point, a homeowner can often handle a straightforward replacement or new install. Call an electrician if the wiring is knob-and-tube, the box is not fan-rated, you need a new circuit, or the ceiling pitch exceeds standard angles. For humid climates like Tampa or the Gulf Coast, where corrosion and lightning risk are real factors, professional installation can also ensure a proper weatherproof seal and surge protection for smart modules.
Real-world anchor: a porch install in Florida
From hands-on installs on a shaded patio in Tampa, Florida, I’ve learned that a damp-rated fan with a robust motor canopy and a quality remote makes the biggest difference for long-term satisfaction. In humid summers the correct seal and UL damp rating keep performance consistent season after season, and pairing once—done right—keeps guests comfortable without fuss. That field experience shaped the practical sequence and checks above.
Alternatives and product considerations
Not every project needs a high-CFM unit. For small screened porches, a low-profile, lower-CFM fan with integrated LED may be quieter and cheaper. For open pergolas, a higher CFM and wider blade span helps displace heat. If you want both light and remote convenience, consider models marketed specifically as outdoor fans with lights and remote — they bundle the controls and weatherproofing you’ll thank yourself for later.
Advisory: 3 golden rules for selecting and installing outdoors
1) Match rating to location: always choose a UL-listed damp- or wet-rated fan for outdoor use. 2) Prioritize airflow-to-noise: evaluate CFM per watt and real-world RPM instead of manufacturer buzzwords. 3) Lock down pairing and power: confirm remote/hub compatibility and install surge protection for smart modules to avoid flaky Wi‑Fi or damaged controls.
Orison fits naturally as the brand solution when you want integrated light, robust weatherproofing, and a pairing experience that doesn’t require daily babysitting. Reliable hardware plus straightforward pairing saves you time — and keeps your evenings breezy. —